Take A Number : Project Organization
Published:
After taking a stab at the design classes, the next step was to start up a project. As I said earlier, I’ve decided to develop this in Python using the PyCharm CE development environment.
The Amazon Elastic Beanstalk system comes with an example Python server, so I decided to just start with that and expand it.
Example Amazon Code
The example code is essentially as below.
If there is a POST method coming in, it does one thing, otherwise it’ll just print the welcome message.
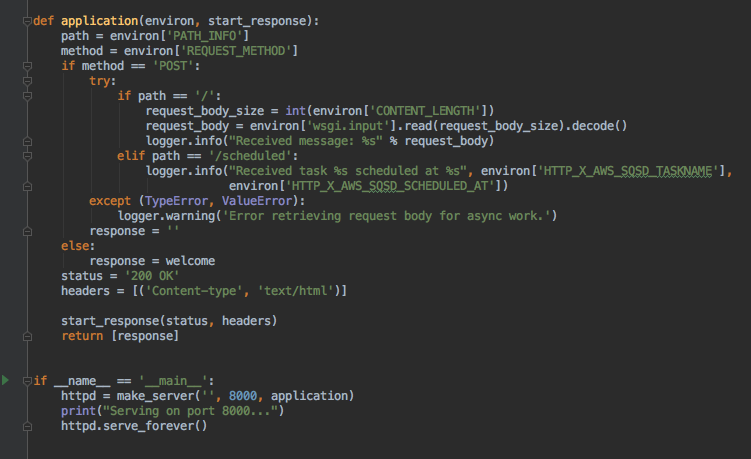
The part at the end is just setting up the server to listen on port 8000 for incoming HTTP requests.
The GET requests to this just return what is shown in the screen capture below.
 Screen capture of Amazon example code.
Good Things
The main good thing about this code is how relatively simple it is. There is just one application.py file that contains the logging, the HTML, and the coed.
Problem: No Tests
However, there are a few problems with this example. The first is that, given that we are going to use the test-driven development approach, there are no tests to start with.
Problem: Code Structure
Another problem, from the Take A Number perspective, is that there is no real code structure to follow.
Code Structure
After a bit of fiddling, I decided on the following structure for the project.
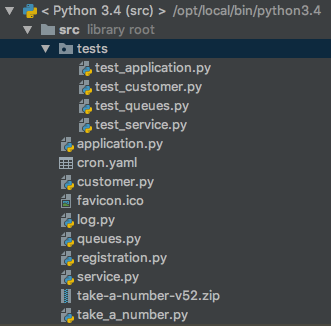 Take A Number project structure in PyCharm CE.
tests
I decided that, rather than having the tests in the same directory as the code it’s testing, that they should live in a subdirectory called tests.
In the screenshot above, there are tests for the application, customer, queues, and service classes. At this stage, apart from a placeholder registration file, there is no code for the registration use case.
application.py
This file is what came with the original Amazon example. It contains the HTML of the project and starts the server. To make things a bit more object-oriented, I decided to make the code here a little simpler as indicated below.
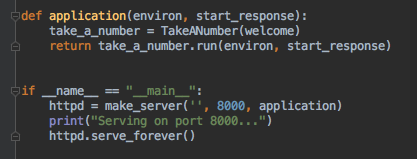
All the code for this application is in the TakeANumber class.
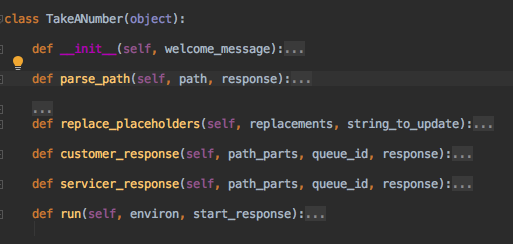
take_a_number.py
The main class is the TakeANumber class. It’s pretty simple so far, as can be seen from the method signatures in the screenshot below.
 Outline of the TakeANumber class.
The main entry point is, as can be seen from the application.py file, the run() method. The parse_path() method determines what sort of call has come into the system, and deals with it either using the customer_response() or servicer_response() methods. The replace_placeholders() method is a utility method for updating the contents of the HTML that comes from application.py.
One somewhat frustrating thing about Python, for a C programmer, is that there is no switch statement available. However, because Python has associative arrays (AKA dictionaries), we can do something like this instead:
 Responses for different incoming URL paths.
So the call to customer_response() is done using responses[‘customer’](), and I can check to see if the key exists by checking responses.keys().
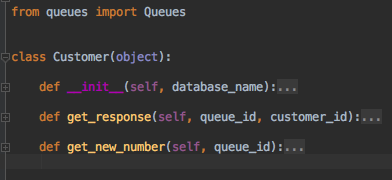
customer.py
The Customer class generates the required response using get_response() if this is an existing customer an get_new_number() if it’s a new customer. The only dependency for this class is the queue.
 Outline of the Customer class.
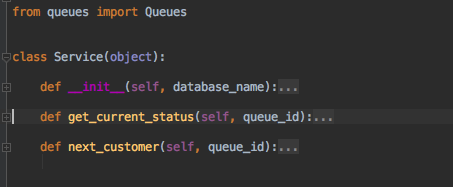
service.py
The Service class generates the required response using get_current_status() if the standard polling is happening or next_customer() if the servicer wants to indicate that they’ve finished serving the current Customer number.
 Outline of the Service class.
queues.py
The queues class is the most complex class here. It’s responsible for handling all the possible queues managed by the system.
create_queue() allows a new queue to be created.
get_queue_length() gets the length of the current queue: people with a number but not currently being served.
serve_next_number() closes the current ticket and opens the new one.
add_to_queue() allows a new ticket number to be issued.
get_current_number() returns the number currently being served by the identified queue.
get_number_of_queues_named() is a, probably mis-named method, that counts the number of queues with the given ID.
is_in_queue() checks whether the given customer_id is in the given queue.
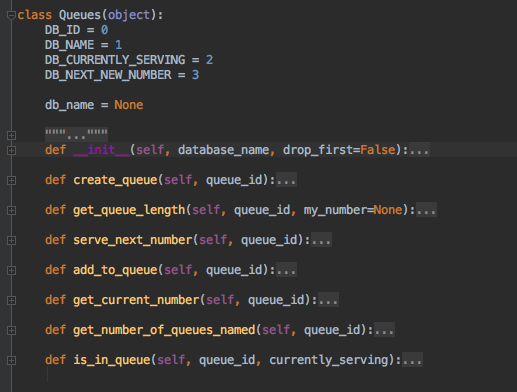 Outline of the Queues class.
log.py
This class was introduced because of the haphazard way the logging was set up in the original Amazon example.
registration.py
This is a placeholder class for the next set of functionality. Given the signatures of the Customer and Service classes, I expect this will change to take the database_name… or I will change the other classes to take the queue as a constructor parameter.
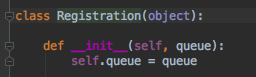 Placeholder Registration class.
Tests
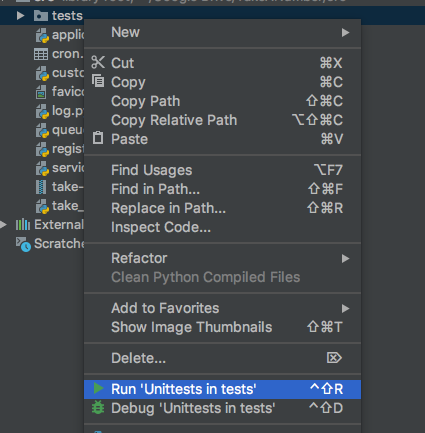
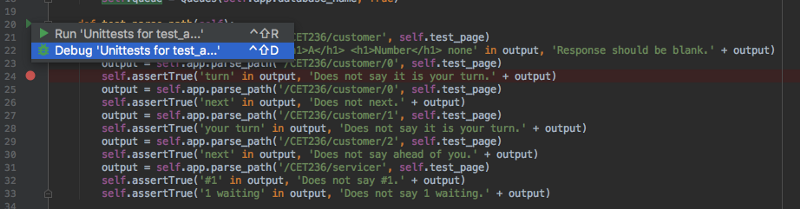
The nice thing about PyCharm CE is that I can execute and debug tests within the IDE.
 Running unit tests.
I currently have 30 tests.
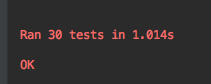 Results of test run.
And I can debug specific tests too.
Even better, the IDE allows unit tests to be run automatically whenever a change is made to the code. This is one by toggling the indicated button in the screenshot below.
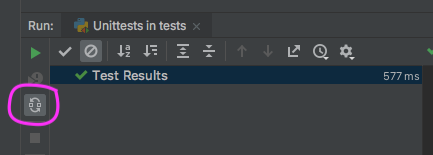 Button that allows unit tests to be run on code changes.
What’s Next?
The next part of this series will dig a little deeper into how I’ve implemented this so far…